Saturday, March 17, 2012

Baked Potato Pesto


Recently, I've realized that I really like POTATOES. I've already successfully replicated the Creamy Potato Gratin that I loved during my college days. Now, it was time to try making some potato jackets and fill them up with nothing else but potatoes!

I came across this recipe for Pesto Baked Potato on Pinterest, and I knew I just had to try it out, with a few tweaks, of course.

So, here are things you'll be needing:

Equipment:
Any baking pan (I used my non-stick square pan)

Ingredients: Makes 2 servings
1 lb potato, washed
Garlic
Onion
150g cream
1 tbsp pesto sauce
Salt and pepper
Parmesan cheese, grated


Preheat your oven to 400F. Pinch your washed potatoes for about 6-8 times.


Pat the potatoes dry, then brush on some olive oil and rub with some sea salt. Bake the potato for about an hour or until it is tender.


When the potato has been in the oven for about 30 minutes, butter up a pan over low heat and toss in the garlic and onions.


When garlic starts to brown, put in the heavy cream. Season with salt and pepper.


When cream starts to simmer, add in the pesto sauce. Leave the sauce to cool until potatoes are done.


Once potatoes are done, cut them in half using thongs to hold them steady. Leave the oven on low heat while preparing potatoes.


Scoop out some of the potatoes, making sure to leave some on with the skin.


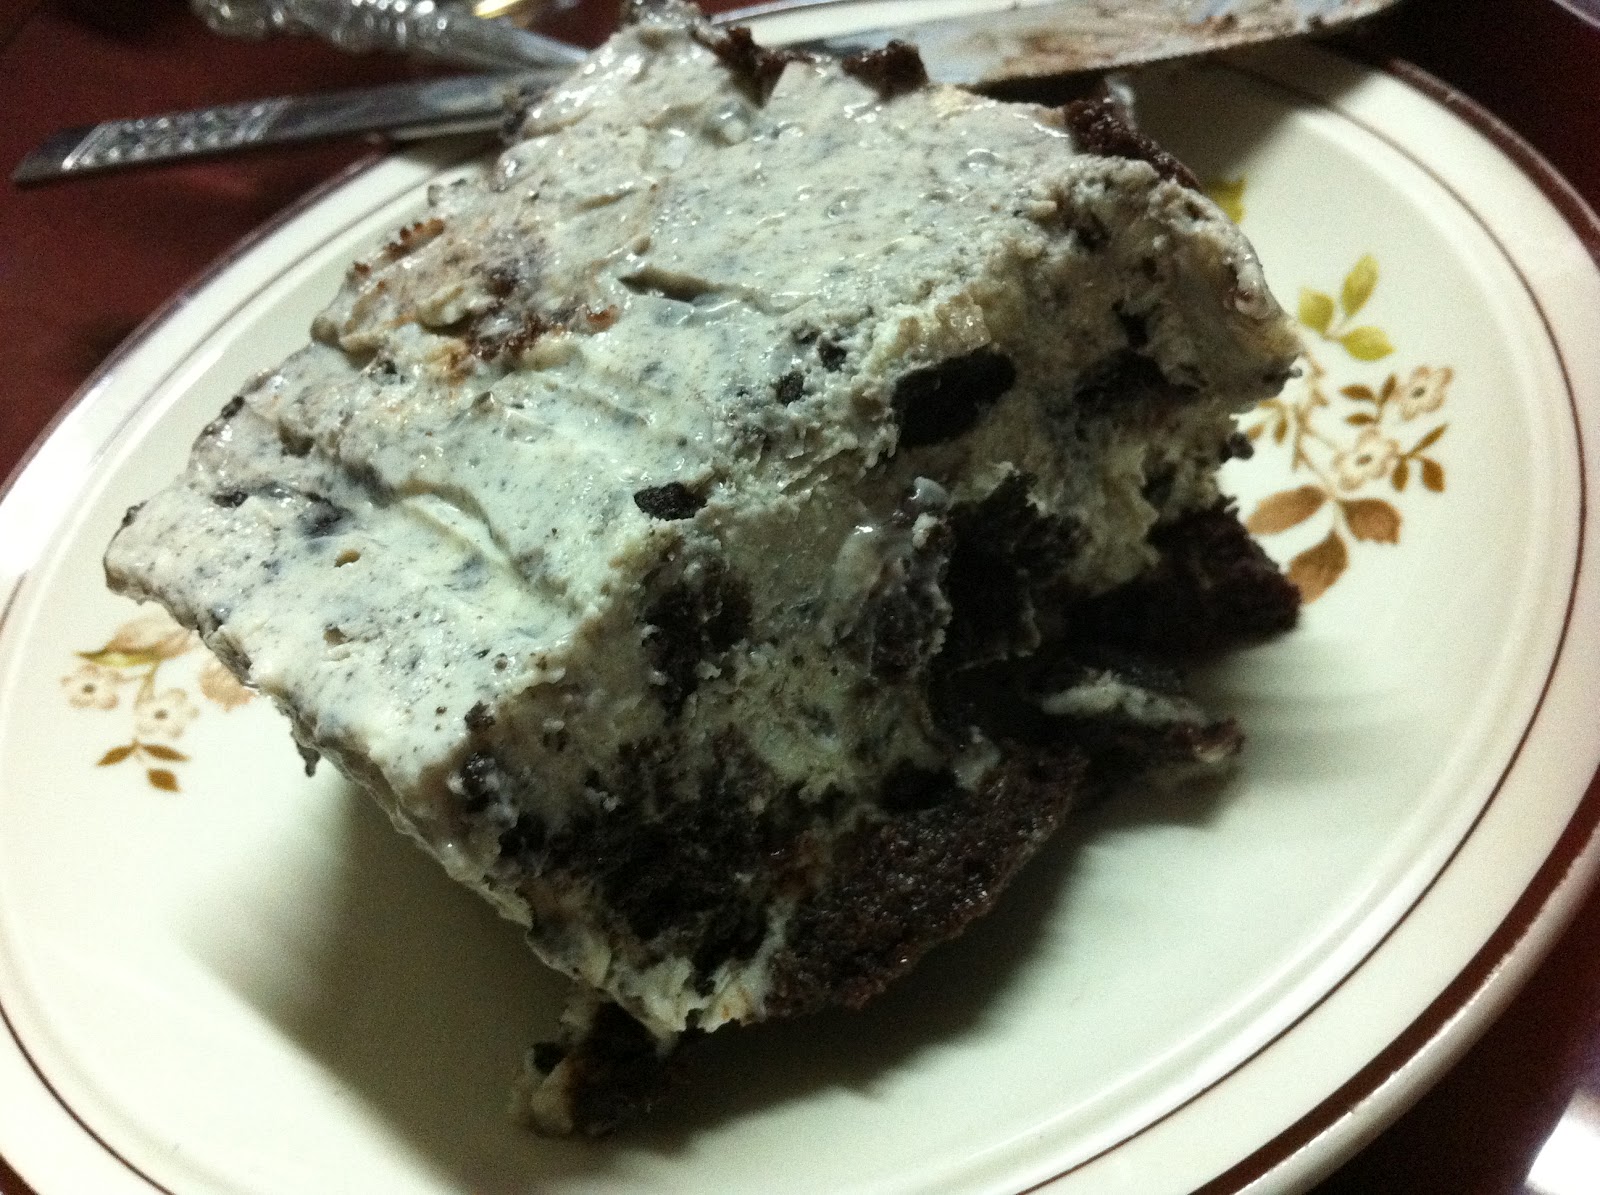
Mix the scooped potatoes with the creamy pesto sauce, then put some into each of the potato jackets.


For one of the potato jackets, I added some peanuts to see if the added texture would really make it better.


Top the potatoes with some parmesan cheese.


Pop the potatoes back into the hot oven for about 10-15 minutes. Serve hot.


In my opinion, this dish is good by itself, but it can also be a side dish as suggested in the original recipe. Since I had nothing to serve it with, I ended up eating the entire thing for lunch.


Oh, and the peanuts did make it more interesting, but I still love good old fashioned potatoes by themselves. ^_~


Sunday, March 11, 2012

Cinnamon French Toast


Growing up, I've never been a fan of breakfast. Given a choice, I would rather sleep in my bed or take my time in the shower and dressing up than to drag myself to our dining table just to eat. I also don't feel hungry in the morning, so whenever I do eat, it feels like I'm forcing myself. And my options for breakfast meals are so limited, especially now that I've pledged that I won't be eating anything fried in oil.

After coming up with the Scrambled Egg Muffin, I just had to think of another dish for my least favorite meal. This time, I wanted a dish that would excite me by just thinking about it. And that is why I decided to try my luck with some french toast. I decided to add one of my favorite spices so far, which is CINNAMON!

Here's are the things you'll be needing:

CINNAMON FRENCH TOAST: Makes 2 toasts

Ingredients:
2 slices of bread
3 tbsp milk
3 tsp all-purpose flour
2 eggs
3 tsp sugar
1 tsp vanilla extract
Butter
Ground cinnamon


First step is to mix the milk and flour in a mixing bowl. As the flour dissolves, add in the eggs, sugar, and vanilla extract. Whisk until well blended.


Now, dip bread slices one at a time until bread has absorb the egg mixture on both sides. Sprinkle one side with as much cinnamon as you like.


Over low heat, butter up a flat pan or heat up a non-stick pan if you have one. Take soaked bread slice and place on pan with the cinnamon side facing down. Sprinkle cinnamon on the other side of the bread slice.


Flip bread slice after 2-3 minutes or until bread is brown and not burnt. Don't worry, if you want it to be toasted a little more, you can always flip it over again.


Repeat the steps to the other slice of bread. Serve with maple syrup, and a few sprinkles of cinnamon and sugar.


If you've noticed, this dish is pretty sweet. The cinnamon provides a bit of kick. If you're concerned with the amount of sweetness in this dish, you can always use less maple syrup and add some fruits to your french toast.

Saturday, March 10, 2012

Oreo Cheesecake for Savers


A few weeks ago, I had to make sample cake pops for my friend Vero. Sadly, while I was baking the cake, our gas oven ran out of gas, and when I tried to use our turbo cooker, some of the cake batter spilled. 

But silly me, I still thought I could make the cake pops, and so, after mixing in a can of frosting (I know, I know, I should have lessened the amount), I ended up with a moist cake-frosting mix which I couldn't make into cake pops anymore. 

But it would be such a waste to just through the whole thing away, so I came up with a brilliant idea (well, in my opinion it was). The cake-frosting mixture was moist, but still cakey enough to make into a crust. And since my sister had been bugging me to make her some Oreo cheesecake, I decided to turn this mess into one.

Don't worry, I don't recommend making the crust out of failed cake-frosting mixture, so I still made the recipe with the proper Oreo crust.

Here's what you'll be needing:

OREO CHEESECAKE FOR SAVERS: Makes 1 pie

Equipment:
Non-stick square pan (8x8)

Ingredients:
1 package (8 ounces) cream cheese, softened
150 g all-purpose cream
150 ml condensed milk
4 packs of Oreo cookies, crushed
1 stick unsalted butter

Melt unsalted butter in the microwave for 20 seconds. Make sure butter is not too hot. Mix the butter with two packs of the crushed Oreo cookies. 

Once cookies and butter have been well mixed, press onto your pan and set aside in the fridge.

In a pot over medium heat, put in cream cheese, cream and condensed milk. Mix until cream cheese is almost broken down with the cream and milk. Personally, I like having little bits of cream cheese in my cheesecake. This took me about 20-30 minutes.

Take cream cheese mixture off heat and allow to cool for 2-3 minutes. Pour mixture over crust and leave to cool in fridge overnight. 


When I made this, I made the mistake of pouring two batches worth of cheesecake mixture into one pan. so we ended up with a really thick cheesecake. But I guess it was good since my brothers were fighting over who got the last slice. ^_^

Happy eating!